Woodworking can be a very interesting and productive hobby or job. Often, art enthusiasts who take up woodworking cut thin wood into different shapes and sizes. The most popular are cute shapes like stars, hearts, flowers, leaves, miniature animals, and so on. You can use several different tools to cut shapes into wood or thin wood into shapes.
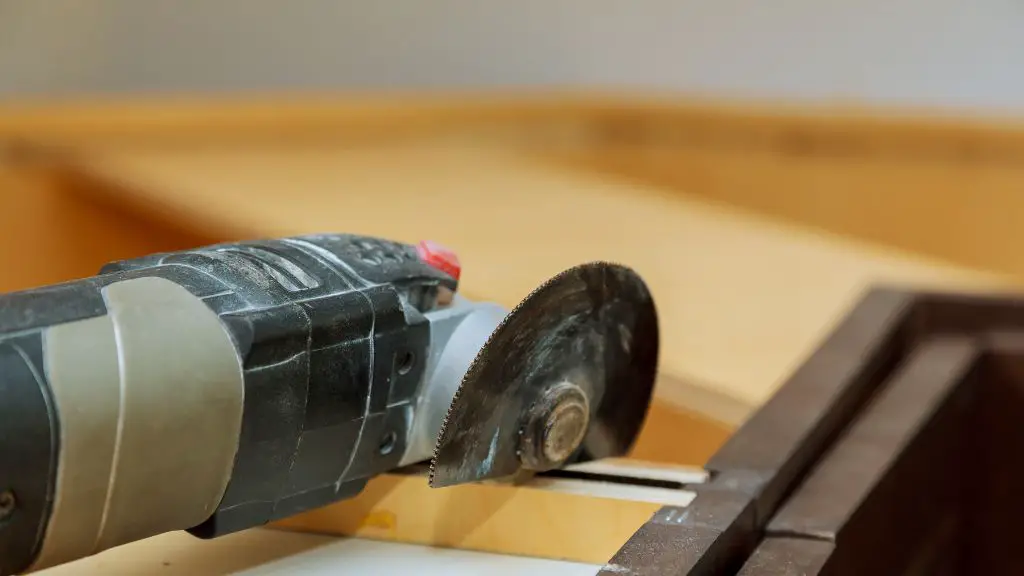
You get to choose any convenient tool to use for your craft. For example, you can use a scroll, coping, or jigsaw to get the shapes out. While you’re making that choice, make sure it’s something you can afford and one that is suitable to the task at hand.
Many people prefer to use a scroll saw because it is motorized; with it, you can get tough shapes with intricate designs. Also, you can remove the blade if you want to carve out a shape in a tight spot. But, if the cutting lacks detail or intricacy, you can use a jigsaw, or a band saw. The choice is yours.
Since the scroll saw is the most popular tool and the best for beginners. I’ll give a step-by-step guide on how to cut thin wood into shapes using the scroll saw.
- Draw An Outline Of The Shape On The Wood
- Put On Safety Equipment
- Secure The Scroll On Work Surface
- Check Blade Size
- Set The Tension On The Blade
- Turn On The Saw And Light
- Test The Scroll
- Set The Scroll To Appropriate Speed
- Use Both Hands To Guide The Design
- Remove The Wood From Blade To Make Large Turns
- Turn Off The Scroll When You Finish
The scroll saw is more suitable for cutting very thin wood, but even if you want to cut something thicker, you can use the scroll saw.
11 Steps To Cutting Thin Wood Into Shapes
A scroll saw is very easy to use, it’s a little heavy, but you can move it around. You’ll also need to keep it close to an outlet, and you can use it to cut very complex shapes. So, if you want to use the scroll saw, here’s how to get it done:
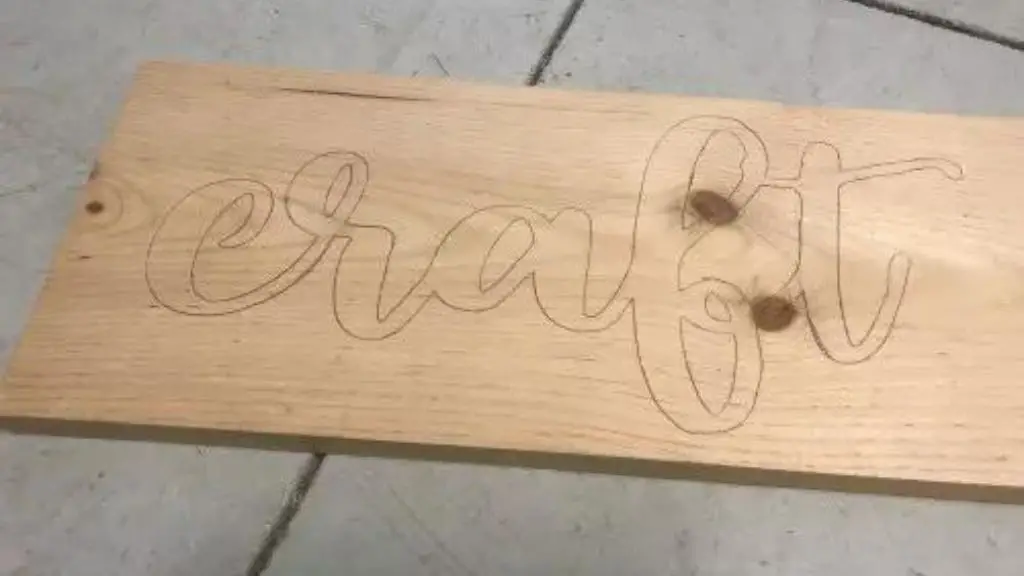
1. Draw An Outline Of The Shape On The Wood
The first thing you need to do is to draw out the shape you want to cut on the wood. You can free-hand draw one yourself or trace out a shape. Use a pencil to outline the shape. Make sure you trace it carefully with a bold pencil so that it will be very visible.
And if you’re just starting and you’re not familiar with the scroll saw, keep it simple. You can also look online for scroll saw patterns for beginners.
2. Put On Safety Equipment
Before you start, you have to be safe. So, put on a pair of safety goggles before you turn on your scroll saw. And only remove them after you are done with the task.
The goggles protect your eyes from debris and broken blades, if any, and also for additional safety.
- Always tie your hair back if you have long hair before you turn on the scroll saw.
- Wear a short-sleeved top. Long large sleeves can get caught in the machine and cause an accident.
- Don’t wear large gloves as those could get caught in the machine too.
3. Secure The Scroll On Your Work Surface
Before you begin cutting, make sure that you clamp or bolt the scroll saw on your work surface securely. You will have to check the machine’s manual to know how to do that. Follow all the instructions carefully, and don’t remove the scroll saw until you complete the task.
Also, only use a secure, stable, and flat surface. The best surface to use is a work table. Get a work table with a flat surface and one that doesn’t move around at all.
An unstable surface can cause you to make mistakes with your cutting and can also cause injuries or accidents.
4. Check Blade Size
When you’re cutting thin wood, you need a smaller blade. A low blade number means that the blade is small. So, check the blade number against the thickness of the wood. For wood that is ⅛ or 3.2mm thick, use the #1 or #2 blades.
Also, if the shape is intricate, use a smaller blade. With a smaller blade, your cut will be more accurate. In addition, small blades cut slowly, which means you can better control the blade. And smaller blades cut more accurately.
5. Set The Tension On The Blade
Once you fit the proper blade, you must adjust the tension according to the instructions in the manual. Next, use your finger to apply some pressure to the blade’s midpoint. If the tension is correct, the blade will not move more than 1.8″ or 3mm in any direction.
The correct tension has to be tight enough that it is accurate and doesn’t cave, but also loose enough that it doesn’t break. So try to find that balance.
6. Turn On The Saw And Light
Once you’re all set, plug the saw into an outlet. Then, turn on the power switch of the scroll saw. Also, turn on the machine’s light so you’ll be able to see more easily.
If your scroll saw doesn’t have any light, you can use a bright lamp so that you’ll be able to see what you’re doing. Also, you can get lights and place them securely on your scroll saw.
Also, if a dust blower is on your saw, turn it on. The dust blower removes the wood particles and dust from your design while working on it so that you can see it.
7. Test The Scroll Saw
Before you begin, you can test the scroll saw to make sure everything is good and well. Then, use a discarded piece of wood that resembles the one you’ll be using.
You can check the tension, the blade size, the lighting, and other minor details.
8. Set The Scroll To the Appropriate Speed
Since the wood you’re using is thin, the speed of the scroll saw has to be slow. The thinner the wood, the slower the saw has to be. And if you’re a beginner, the speed has to be slow so you can have time to get the hang of the scroll saw.
Go slow at first, and you can always increase the speed as you progress. For example, if you have thicker wood, you can go faster.
Also, you need to be very slow when cutting around curves or cutting intricate designs. However, you can increase the speed when cutting a straight line or a simple part.
If the wood is softwood, you can choose a faster speed. With softwood, you have to cut at a fast pace than when you’re cutting hardwood.
9. Use Both Hands To Guide The Design
Hold the piece of wood towards the scroll saw blade and aim it towards the part you want to begin cutting. Press the wood forward and then guide it into the blade.
Keep making the necessary adjustments to the wood as you progress and turn it as required. Make sure you keep your thumbs out of the way to avoid accidents.
Watch your fingers and thumbs closely to ensure they don’t get too close to the blade. Hold the wood with both hands, so the saw doesn’t make an unwanted cut.
Don’t push the wood through the machine; let it cut at its speed. You need to guide the wood through, not force it. If you do, you may injure yourself or end up with a crooked design.
10. Remove The Wood From Blade To Make Large Turns
At any point during the cutting, if you have to make a 90° turn or a larger then, you have to remove the wood from the saw. Don’t just pull it out, draw the wood from the machine towards you through the line you have already cut into it.
Turn the wood around and continue cutting. Also, don’t keep going if you’re unsure about a particular cut. You can remove the project and put it back in another direction to keep cutting.
Also, even using a spiral blade, it can cut in all directions. All you have to do is position your project appropriately and keep going.
11. Turn Off The Scroll When You Finish
Once you’re done with the project at hand and you’re absolutely satisfied with the results, put the project aside and turn off the scroll saw. Always turn off the machine before you switch off the power outlet you connected it to.
After you turn off the scroll, remove it from the outlet and turn it off. Then, remove the blade from the scroll saw before you put it away. Even if you want to use the saw again later, always remove the blade in the meantime to avoid accidents.
Finally, if you won’t be using the scroll saw anything soon, unscrew it from the workbench, table, or wherever and put it away until you need it again.
Conclusion
Getting a perfect shape out of wood can be a very fulfilling exercise. And with the right tools and the right amount of practice, you’ll enjoy it too. Be careful when using a scroll saw; use good lighting, the right blade size, and the right speed.
Well, I hope that this article was helpful to you and that you’ve been able to cut your thin wood into shapes. Carefully following these steps will always give you the desired results.

I have always loved sawing and cutting. I started doing it when I was a kid and never stopped. I love the feel of the wood beneath my hands, the smell of the sawdust, and the satisfaction of creating something beautiful.
I’ve been writing for quite some time now and thoroughly enjoy sharing my passion with others. I’ve written for both online and offline publications – such as Amazon and Medium.